Welcome to todays whim: Trying the Papertrey Ink Make It Monday #207: Double Partial Die Cutting:
 (click on photo to enlarge)
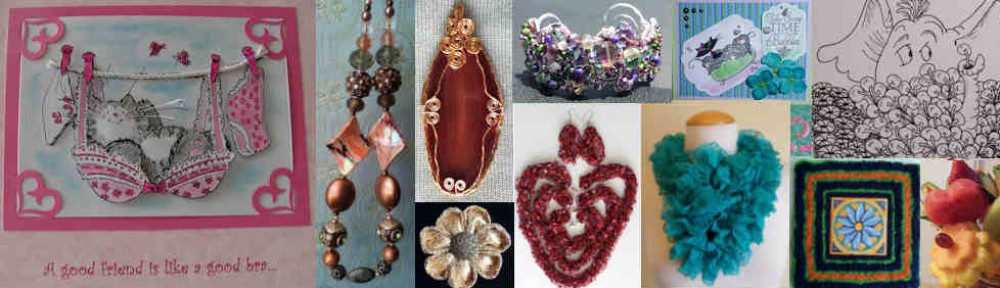
I couldn’t find a suitable frame for my word die, but I saw that fox and she just fit inside the SAF2014-Renaissance die. I cut a piece of cardstock 4″x5.25″ and then followed the directions in the video and marked and cut the fox, followed by the circle with the flower wreath in the Renaissance die set. Stopping at the edge does leave a slight mark across the page, but it’s barely noticeable. I went ahead and embossed the entire Reanissance die after cutting it. Then I used my MISTI stamping tool and stamped the fox, sentiment and heart squiggles in Canyon Clay ink. It took a couple of impressions to get full coverage on the fox, so I was extra glad to have the MISTI!
Next I colored the area that would be seen behind the fox like shown in the video, using Aqua Mist and Hawaiian Shores inks. Then I cut three flowers from peacock colored felt using the SAF2014-1940’s die. I love the embossed look and I didn’t even have to run it through a second time!
 (click on photo to enlarge)
I sewed a Canyon Clay button onto each flower using a mustard twine that matched the Summer Sunrise Cardstock and stuck them on using Crafty Power tape. Then I cut a piece of 8.5″x5.5″ white cardstock and folded it in half and attached the panel using the E-Z Runner.
.
Supplies:
Papertrey Ink Love You to Pieces Fox Stamp * Die Collections
Papertrey Ink SAF2014 Renaissance Kit die
Papertrey Ink SAF2014 1940’s Kit die
Papertrey Ink Premium Dye Inks: Canyon Clay, Aqua Mist & Hawaiian Shores
Papertrey Ink Perfect Match Cardstock: Summer Sunrise
Papertrey Ink Vintage Buttons: Canyon Clay
The Kunnin Group Rainbow Classicfelt – Peacock
White Cardstock
Mustard yellow twine
Scrapbook Adhesives E-Z Runner
Scrapbook Adhesives Crafty Power Tape
.
Thanks for checking out today’s whim!
-D.Ann

Love this card!
LikeLike